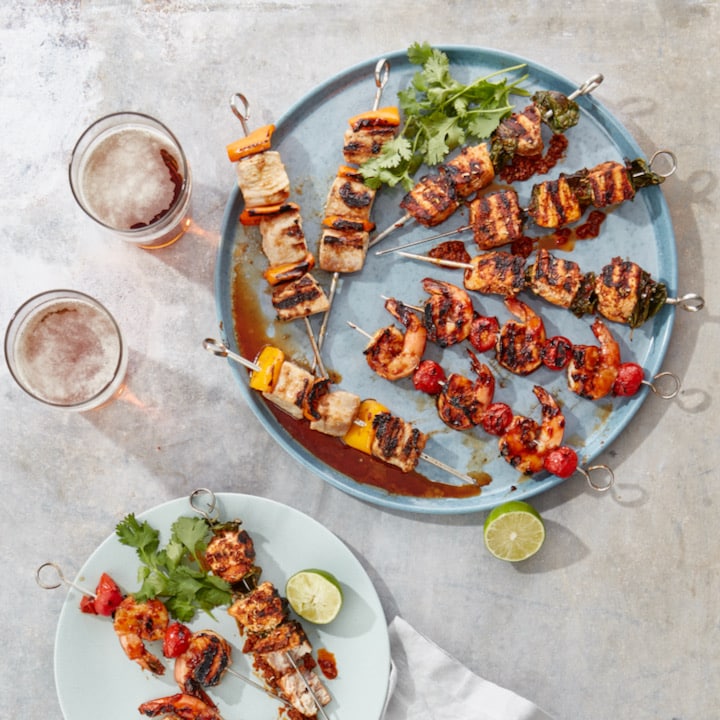
Crazy For Kabobs: Tips For Grilling
The sun is shining, the days are longer, and it seems everywhere you turn barbecue smoke fills the air. This can only mean one thing: grilling season is here and it’s time to oil up the grates. Today, we’re going to talk about one of the best things you can cook outdoors: kabobs, in every one of their delicious permutations.

The first ever mentions of kabobs appeared in medieval Arab cookbooks, although archaeological evidence points to humans cooking food on sticks since prehistoric times—there is something very primal to it, after all. So you can’t get much more universal than the kabob, as most cultures have some version of it in their culinary repertoire.
There are no hard rules for crafting a great kabob, but a few best practices will make sure you’re set up for success. Read on to learn the basics and shop everything you need on FreshDirect.
How to make a great kabob
The skewers: You can go for reusable metal skewers if you like. But if you’re serving a larger crowd, washing them at the end of the night isn’t exactly the most efficient. Bamboo skewers will do the job just fine, but are also susceptible to burning. To reduce the chances of them becoming completely charred, place them on a lipped tray and let them soak for at least 30 minutes.
The marinade: Although you can always brush some sauce on your kabobs once they’re cooking, you’re guaranteed better flavor by letting them soak for at least an hour or two. There are plenty of great marinade recipes out there, but there are even more great ready-to-use sauces available these days. We’re especially fans of those from Haven’s Kitchen and Omsom.
Choosing items for your kabobs: When it comes to proteins, there are few things that can’t be kabob-ed, but some will work better than others. Particularly lean meats, like beef or pork tenderloin will dry out quickly when cut down into kabob-sized pieces, so it’s best to go for richer, more marbled alternatives. As for seafood, it can be difficult to work with delicate, flaky fish like cod or sea bass, so you’re better off sticking to meatier, firmer options like swordfish or shrimp.
Most firm veggies (and fruits!) are perfectly fine for skewering. Many chefs advise against putting produce and meats/seafood on the same kabob, however, because they may cook at different rates. No matter what you choose, the most important thing is to start with pieces that are roughly the same size and shape to promote even cooking.

The grill: Generally speaking, kabobs are meant for quick grilling over high heat—they only need a few minutes to get fully cooked while picking up a nice char on the outside. You may, however, want to set up some grill space for cooking over low, indirect heat. If you’re using especially thick or slower cooking items, like rich meats, you’ll want to have a cooler area where your items can get cooked through without becoming totally crisp and burned on the outside.
Get cooking: Once you’ve gotten your kabob items picked out, you’ll want to skewer them together somewhat tightly. Sparsely threaded kabobs will cook a little too quickly, cooking through the insides before they’ve had a chance to get browned on the outside. If they’re packed together, it’ll slow things down so that they’re nicely cooked inside and out. Just make sure not to overload them to the point where become exceptionally heavy.
Once you’ve got them on the grill, make sure to turn your kabobs as soon they’ve got some browning on the side that’s facing the heat—in most cases, every couple minutes. Try get to all sides of each skewer, giving them a quarter turn each time you rotate. If you’d like to put some extra sauce on the outside, use a brush to coat your skewers during the last few minutes of cooking, which will help the sauce set and dry out just enough that it sticks to the pieces.
